
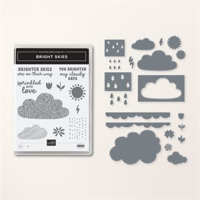
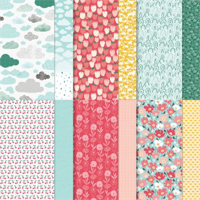
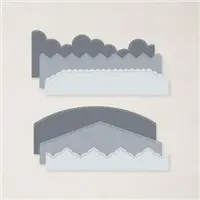
Today’s Bright Skies card is certain to brighten someone’s day and bring a smile! The charming cloud patterns were cropped from Sunny Days Designer Series Paper using the Bright Skies cloud dies. Quick and easy style! Don’t miss the sweet personality the “stitched” border from the dies add.
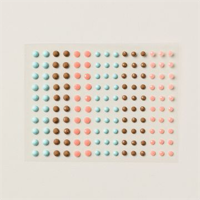
WHAT I LOVE! The fresh, modern patterns of the Stampin’ Up! Sunny Days Designer Series Paper keep making their way to my craft desk. Stampin’ Up! coordinating colors include Basic Black, Basic Gray, Crushed Curry, Petal Pink, Pool Party, Poppy Parade and Shaded Spruce. The adhesive-backed Opaque Faceted Gems in Calypso Coral, Pecan Pie and Pool Party are the perfect pop of detail and style!


my simple card tutorial
CUT YOUR CARD STOCK – DIMENSIONS:
- Basic White Thick Card Stock:
- Card Base – 4 1/4 x 11, scored at 5 1/2
- Layer – 3 1/2 x 4 3/4
- Basic Gray Card Stock:
- Layer – 3 1/4 x 4 1/2
- Basic White Card Stock:
- Sentiment Die-Cut – 2 1/2 x 1 3/4 (before die-cutting)
- Sunny Days Designer Series Paper:
- Layer – 4 x 5 1/4
- Die-Cut Clouds
- Envelope Flap – 5 3/4 x 2 1/4

PROJECT TUTORIAL:
Begin by burnishing the fold of the Basic White Thick card base with a Bone Folder.
Adhere the 4 x 5 1/4 Sunny Days Designer Series Paper to the card base with Multipurpose Liquid Glue.
Adhere the 3 1/4 x 4 1/2 Basic Gray layer to the 3 1/2 x 4 3/4 Basic White layer together with Multipurpose Liquid Glue.
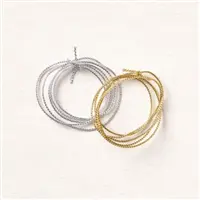
Wrap the layer with silver Simply Elegant Trim, securing with a bow as shown. TIP: I use Mini Glue dots to keep the silver cord knot tied and knot/bow in place.
Adhere the layer to the card with Stampin’ Dimensionals.

Use a Stampin’ Cut & Emboss Machine (Standard or Mini) to crop the three clouds from the Sunny Days Designer Series Paper with the coordinating Bright Skies die.
Adhere the two large clouds as shown with Multipurpose Liquid Glue.
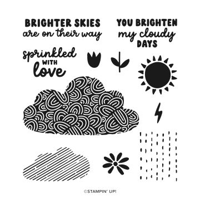
Use a Clear Block C to stamp the sentiment (Bright Skies Stamp Set) in Tuxedo Black Memento Ink onto the Basic White piece.
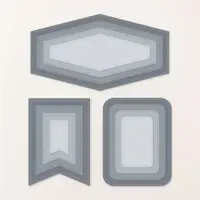
Crop with a Stampin’ Cut & Emboss Machine (Standard or Mini) and the 2 1/8 x 1 1/2 Nested Essentials rounded stitched rectangle die.
Adhere the sentiment and the small cloud to the card as shown with Stampin’ Dimensionals.
POP OF PERSONALITY! Embellish with five Pool Party Opaque Faceted Gems as shown.

PERFECT POLISH! Adhere the 5 3/4 x 2 1/4 Designer Series Paper (DSP) to the Basic White Medium envelope flap with Multipurpose Liquid Glue. IMPORTANT: Add glue to the flap first, not the DSP. Center, line up, tape to secure (Post-It Tape) and crop with a Stampin’ Cut & Emboss Machine (Standard) and the Basic Borders curved edge die.
stampin’ up! product spotlight!


MY FAVORITE THINGS! Items used on this card are part of My Favorite Things from Stampin’ Up! You can see all of My Favorite Things here.
promos, specials, & important updates
don’t forget your tulip rewards!

MY CUSTOMER EXCLUSIVE! Tulip Loyalty Rewards are my way of personally saying thank you to my frequent online shoppers. Earn a tulip for every $50 increment you spend on Stampin’ Up! products (purchased through me). Redeem tulips for a free stamp set (5 tulips) or bundle (10 tulips)!










Love, love, love. I adore this paper and the uplifting, sweet card you’ve made with it.♥
Love this card! Thank you for this cute layout.
Sweet card, Mary. I love the cloud DSP. Enjoy your day!