
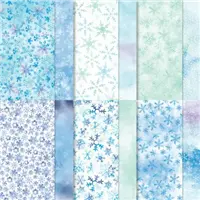
Today’s slimline card showcases the layout of the Stampin’ Pretty Sketchbook #14 (below) that I shared on Tuesday! Snowflake Splendor Designer Series Paper from Stampin’ Up! is the star of the show, making both the card background and envelope shine!

Enjoy more sketch ideas in my Stampin’ Pretty Sketchbook here.


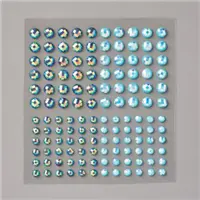
The Snowflake Splendor Designer Series Paper and the Blue Adhesive-Backed Gems are both part of My Favorite Things from the Stampin’ Up! 2020 Mini Holiday Catalog! You can see all My Favorite Things on my blog page here.

STAMPIN’ PRETTY STEP-BY-STEP TUTORIAL:
SLIMLINE CARD:
Begin with an 8 1/2 x 4 card base of Whisper White Thick card stock.
Layer and adhere together with Stampin’ Seal, an 8 1/2 x 3 1/2 and an 8 1/2 x 3 3/4 piece of Snowflake Splendor Designer Series Paper.
Adhere to the card with Stampin’ Seal.
Use a Stamparatus to position and stamp the “On Earth” sentiment in Versamark Ink onto an 8 1/2 x 1/2 piece of Snowflake Splendor Designer Series Paper.
Cover with White Stampin’ Emboss Powder, tap to remove the excess, and set with a Heat Tool.
Adhere to the card with Foam Adhesive Strips.

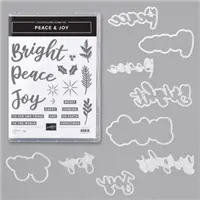
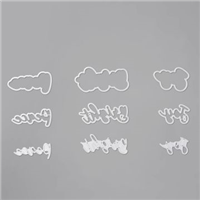
Crop the following using all three “PEACE” dies from the Joy Dies set, along with a Stampin’ Cut & Emboss Machine:
- Whisper White card stock: Bottom and Top Layers
- Snowflake Splendor Designer Series Paper: Middle Layer
Layer and adhere together with Multipurpose Liquid Glue or Adhesive Sheets.
Adhere to the card with Foam Adhesive Strips.
POP OF PERSONALITY! Add Blue Adhesive-Backed Gems to the center of the snowflakes and to the sides of the sentiment as shown.

SLIMLINE ENVELOPE:
Begin by cutting a piece of Snowflake Splendor Designer Series Paper to 9 1/8 x 11.
Score the 9 1/8″ side at 2″ and 6 1/8″.
Score the 11″ side at 1 1/4″ and 10″.
Remove the four corners with Paper Snips by following the score lines as shown in the diagram below.
PRINT IT! You can print a PDF of the diagram below by clicking here.

Use the corner rounder of the Detailed Trio Punch to round the corners of the small flaps.
Add Tear & Tape Adhesive to the four areas shown in the diagram below.

Remove the release paper from the Tear & Tape Adhesive (DO NOT REMOVE THE TOP FLAP) and adhere together folding the left flap in first, then the right flap, then the bottom flap. NOTE: Do not adhere the top flap until your card is inside and ready to send!
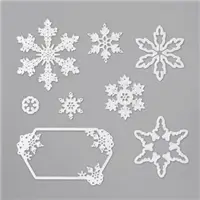
Crop a piece of Whisper White card stock with the 1 3/4″ So Many Snowflakes Die and a Stampin’ Cut & Emboss Machine.
Adhere to the top envelope flap with a Mini Glue Dot.
POP OF PERSONALITY! Add Blue Adhesive-Backed Gems to the center of the snowflake.


- EARN A $50 SHOPPING SPREE ON ME! Tulip Rewards are my way of personally saying thank you to my frequent shoppers. You earn a tulip for every $50 increment you spend on Stampin’ Up! products. 10 TULIPS = A $50 SHOPPING SPREE!
- CHECK YOUR TOTAL! Stampin’ Rewards and my exclusive Tulip Rewards are based on your total PRIOR to shipping and tax and AFTER you apply any coupon code.
- Find out how my Tulip Rewards Frequent Shopper program works here.
Mary


My project supply list. Click products to shop on-line!








This is very interesting information. Thanks you. I’ll take note
Me again Mary. Is this card size go through through the US mail?
Hi Mary, it’s Sandra………Are the measurements given for the size of the finished card. I am not understanding something. The finished card is 8 1/2″ by 4″? So I would cur my card stock 8 1/2 X 8? Math is not my strong suite.
I love this card, Mary. The DSP has really pretty designs and the Peace and Joy dies are a standout. Have a great day!
So LOVELY. I just ordered the Peace and Joy Bundle……Can’t wait to use them. Thanks for the inspiration my friend.
Oh, how I love this! The paper is perfect, and this sentiment is the best! ♥